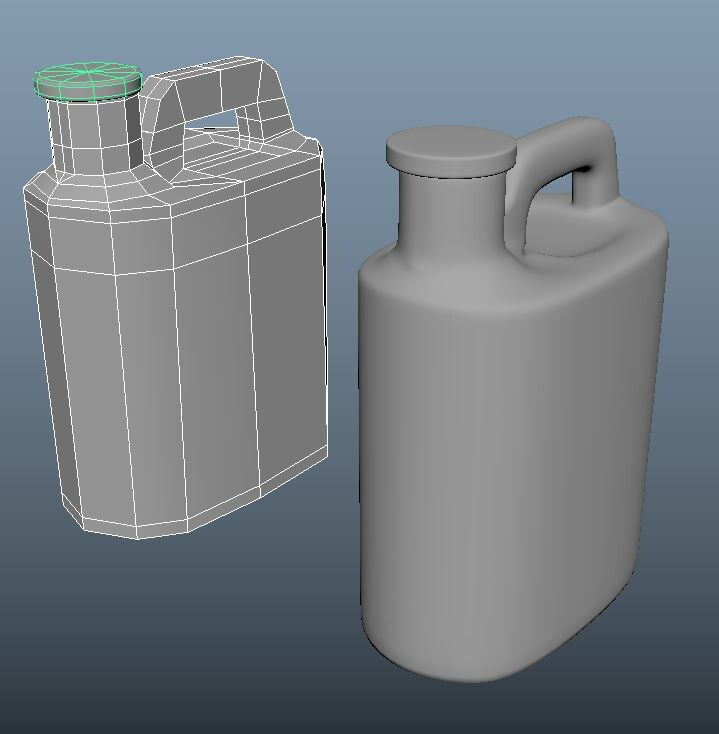
Proper planning is key I learned. You really need to nail the silhouette during block out, add holding edges in Game Res, and then go nuts it High Res. It might make more sense to decimate down to get the Game Res. I'm Tired.
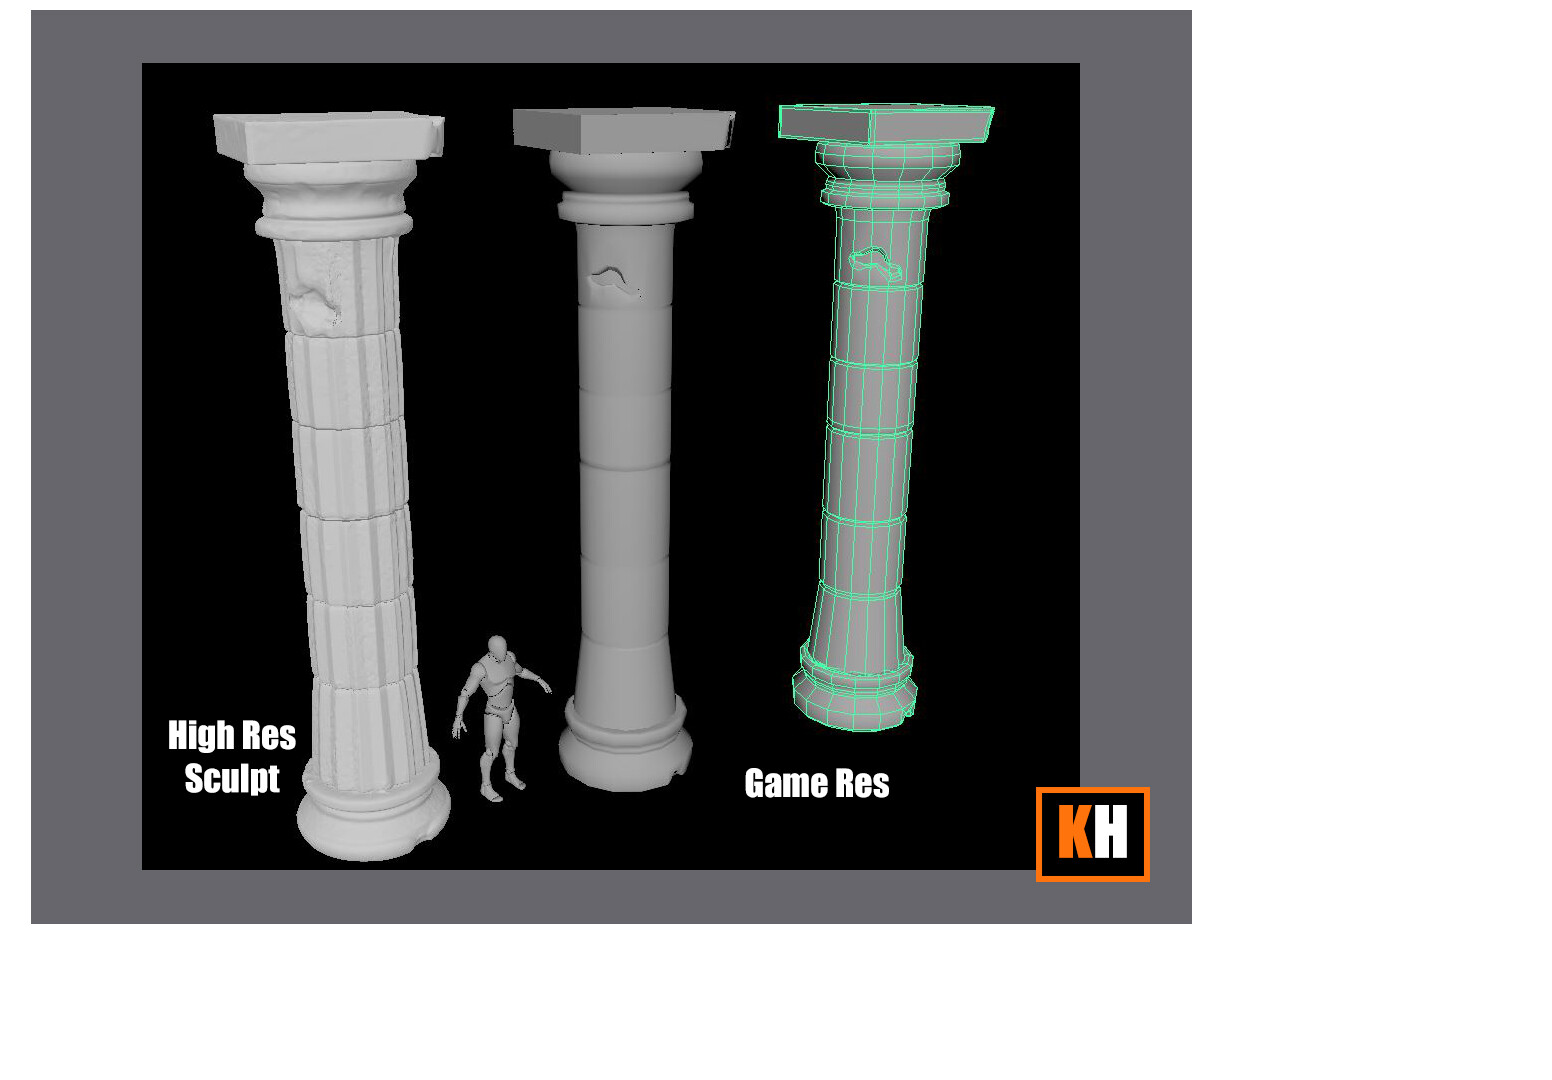
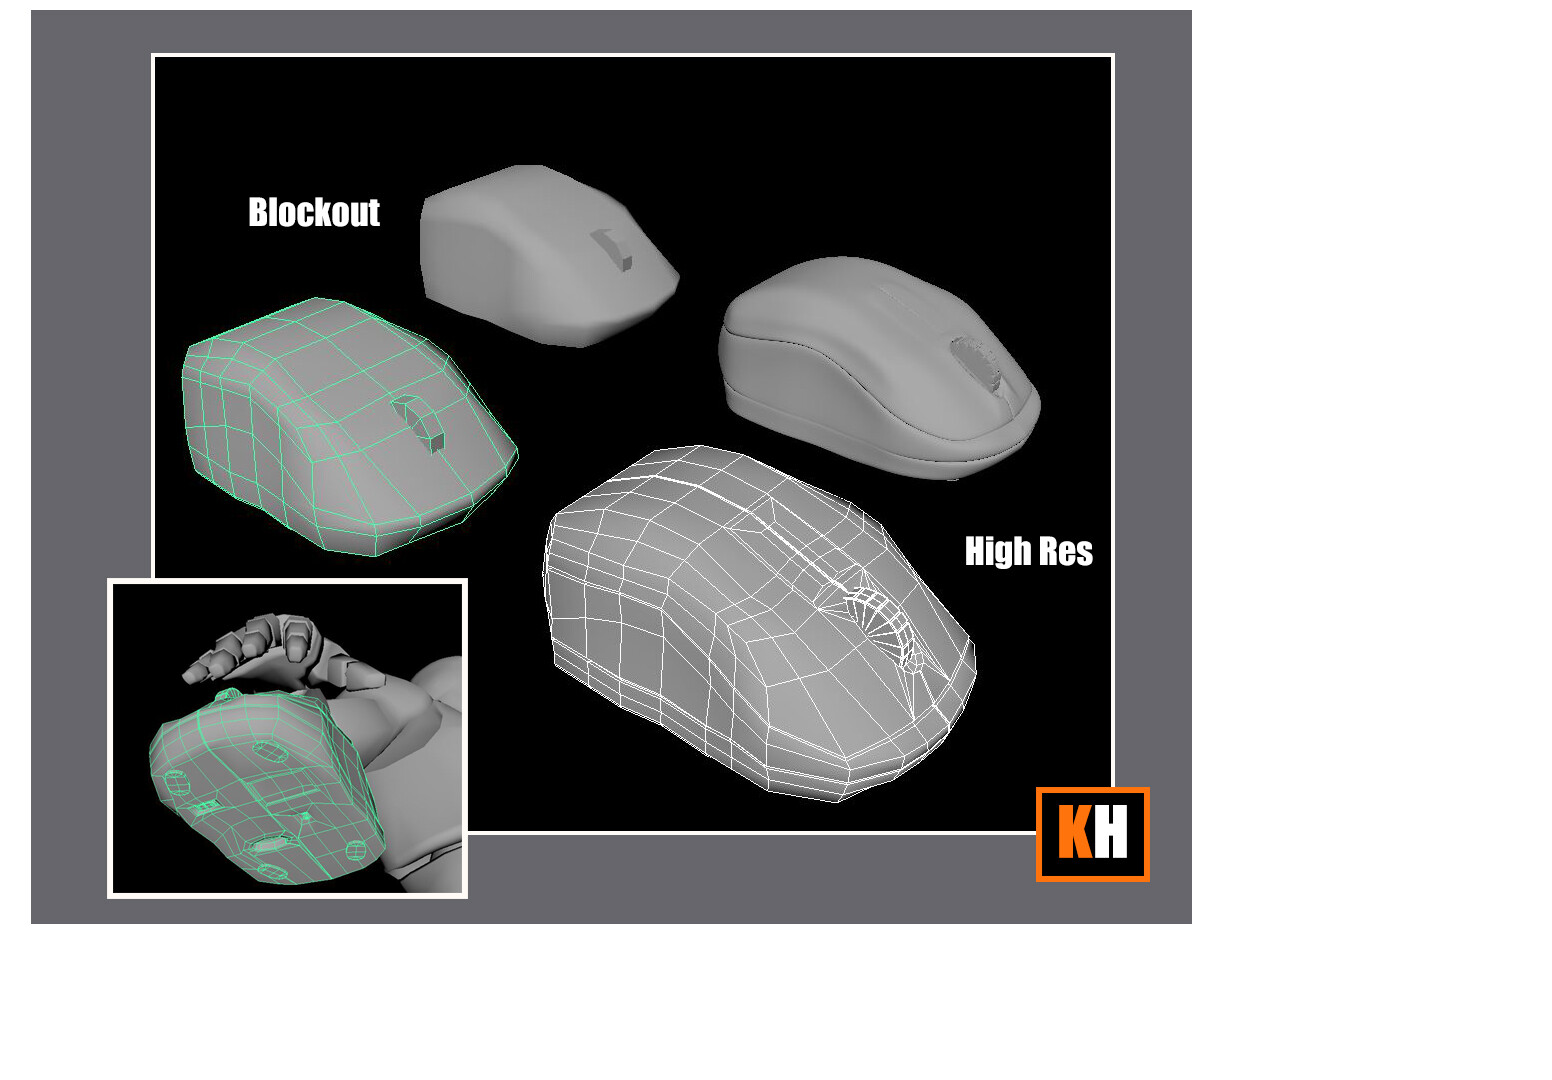
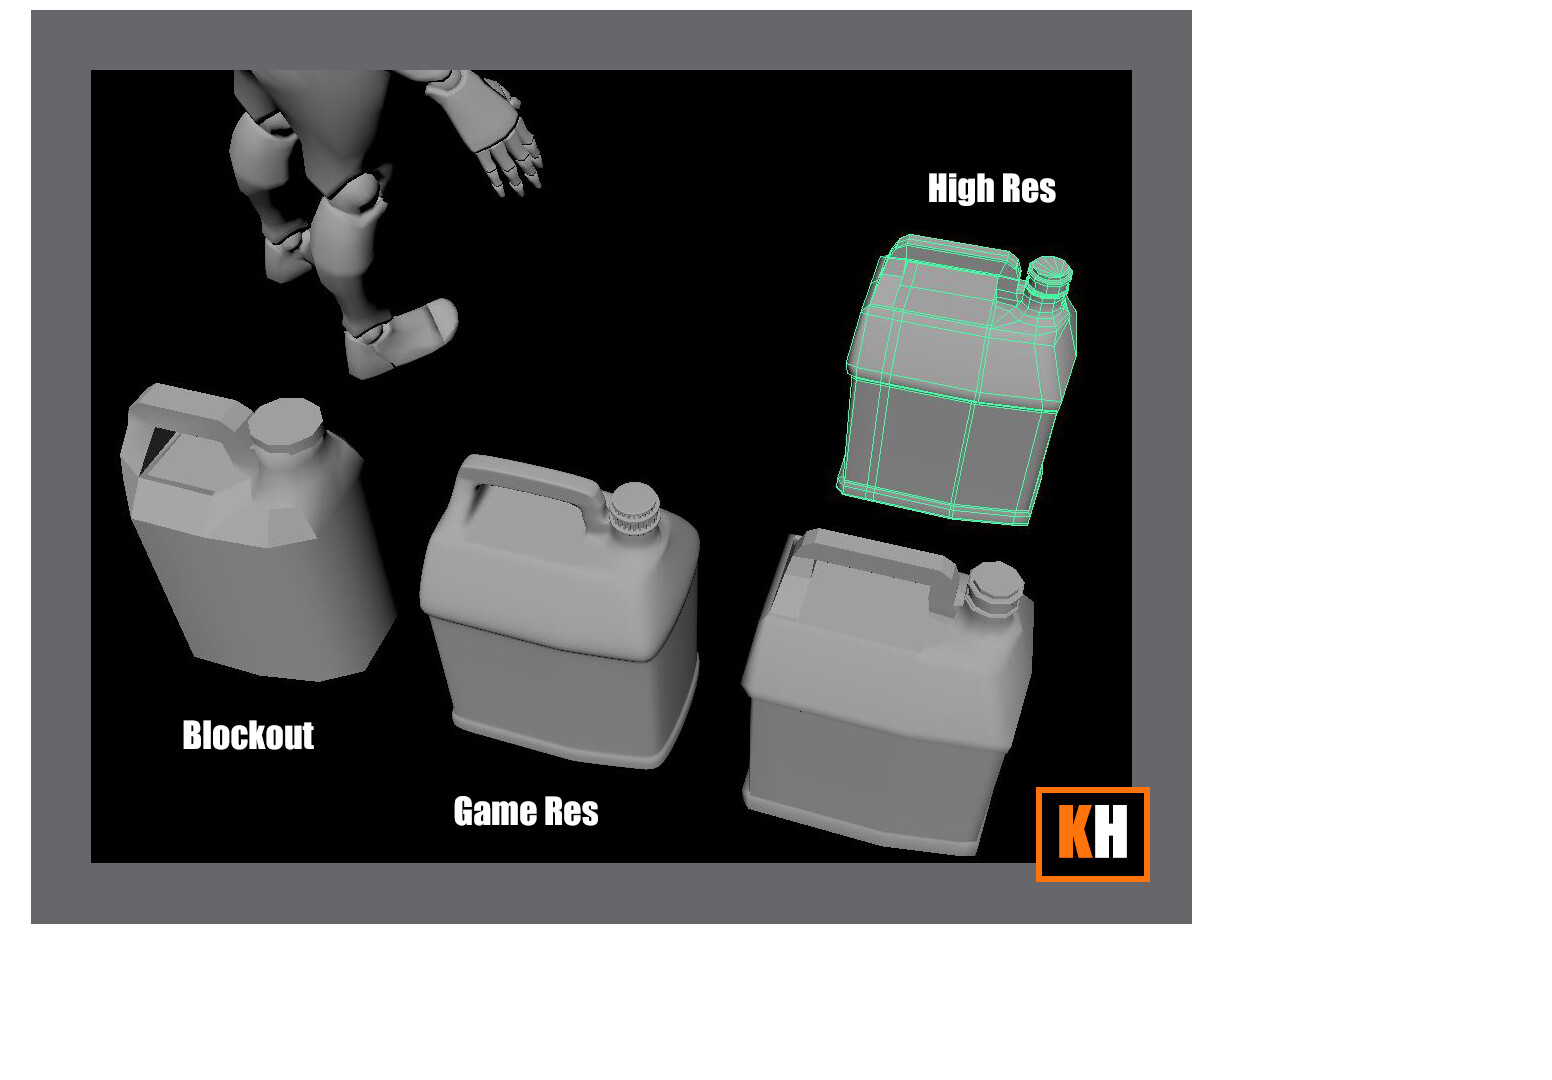
Proper planning is key I learned. You really need to nail the silhouette during block out, add holding edges in Game Res, and then go nuts it High Res. It might make more sense to decimate down to get the Game Res. I'm Tired.
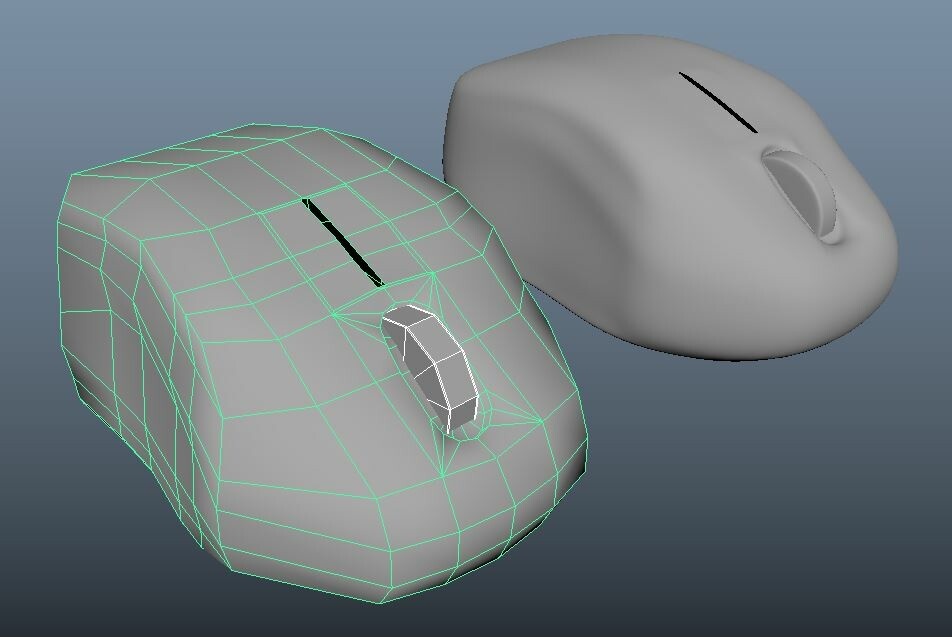

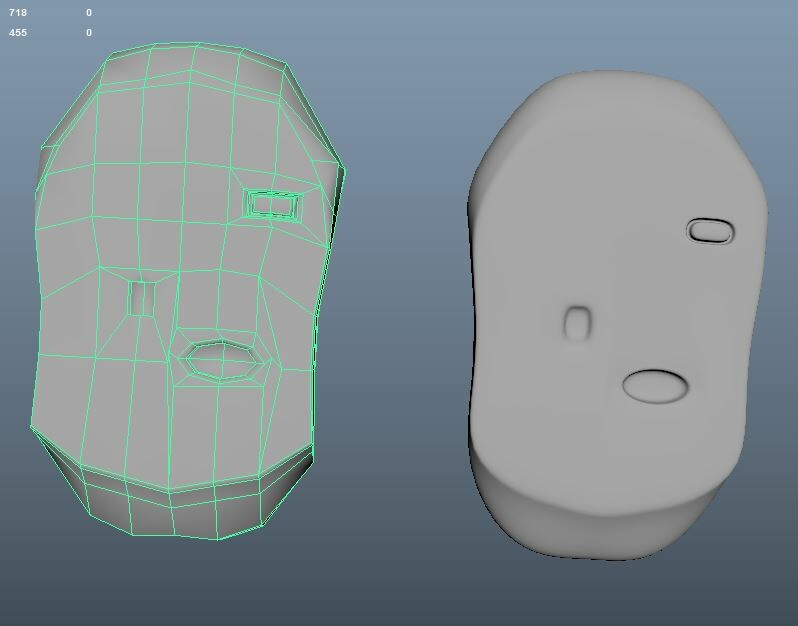
ACG - Course: Mouse WIP*
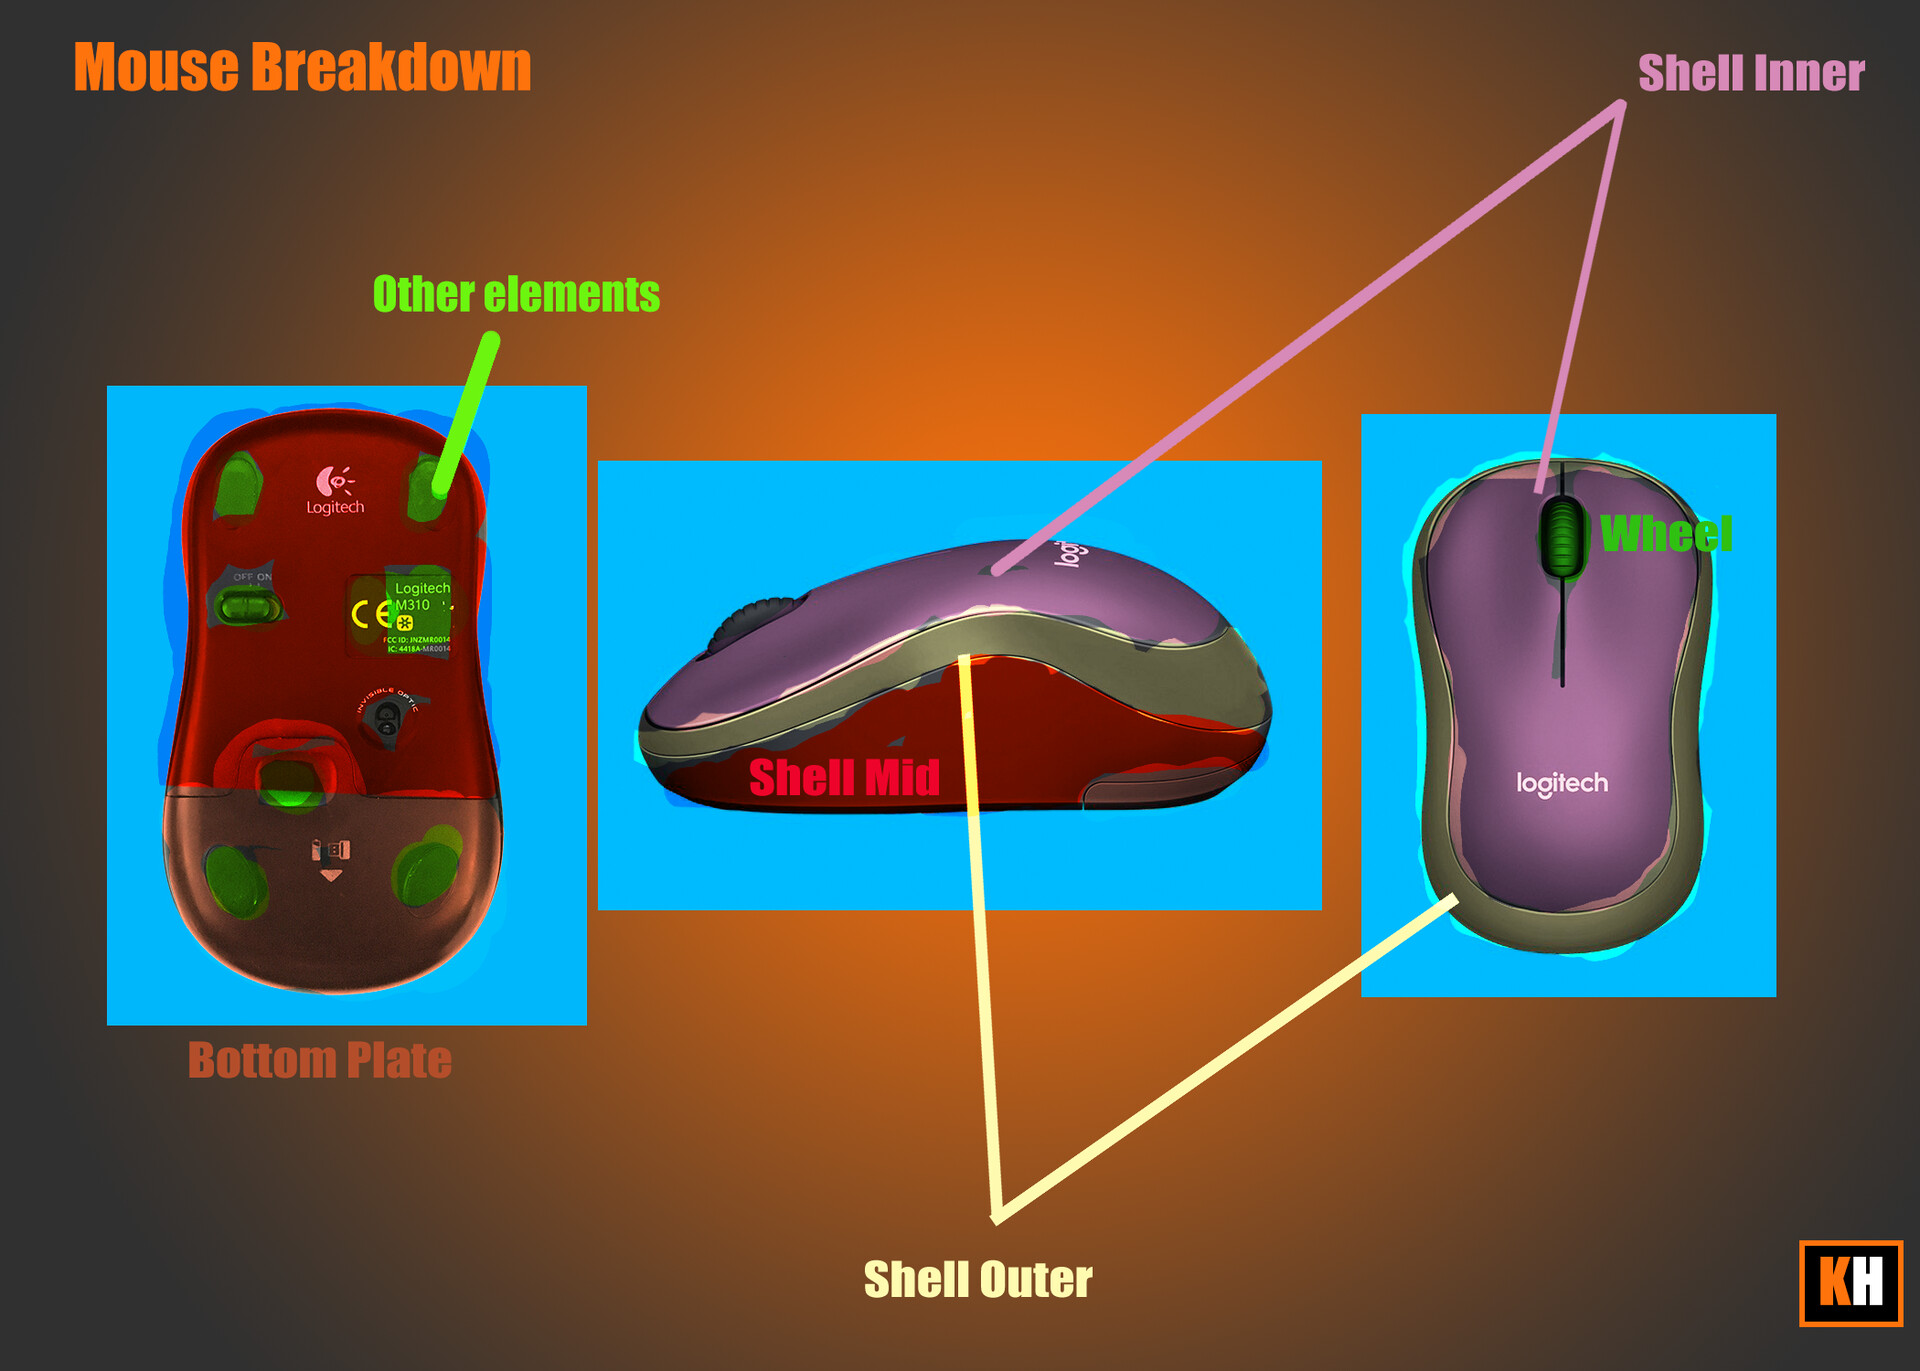
Logitech M310. I do not have this mouse personally, however, I do have 2 Mice similar to model off of. Yesterday I did the Breakdown sheet. and Today I did a mix between lockout and mid-Res. I understand that I am mixing together the high poly bake, so there will be some back in forth. Instead of doing Low, Mid, High, I am doing a sort of hybrid to lay the groundwork, then deleting and optimizing later.
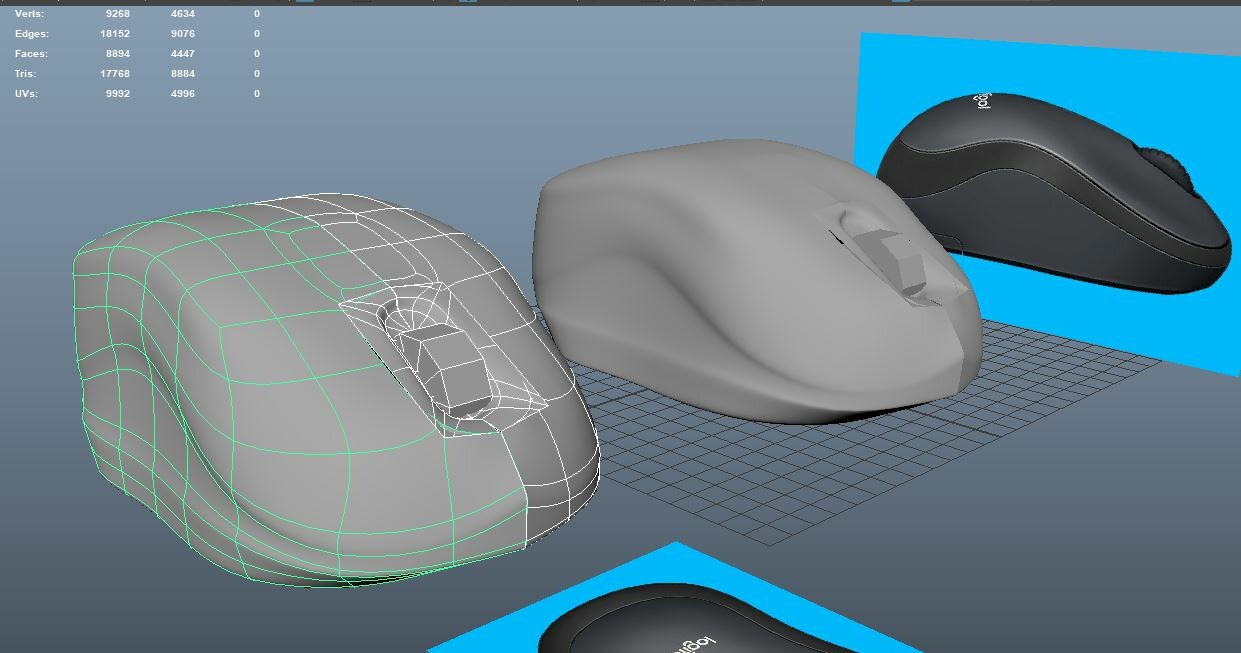
Tomorrow I need to get all the silhouette forms done and start UV' ing. After that add bevels and detail for High Res bake, and down rez-ing the In-Game Engine model.
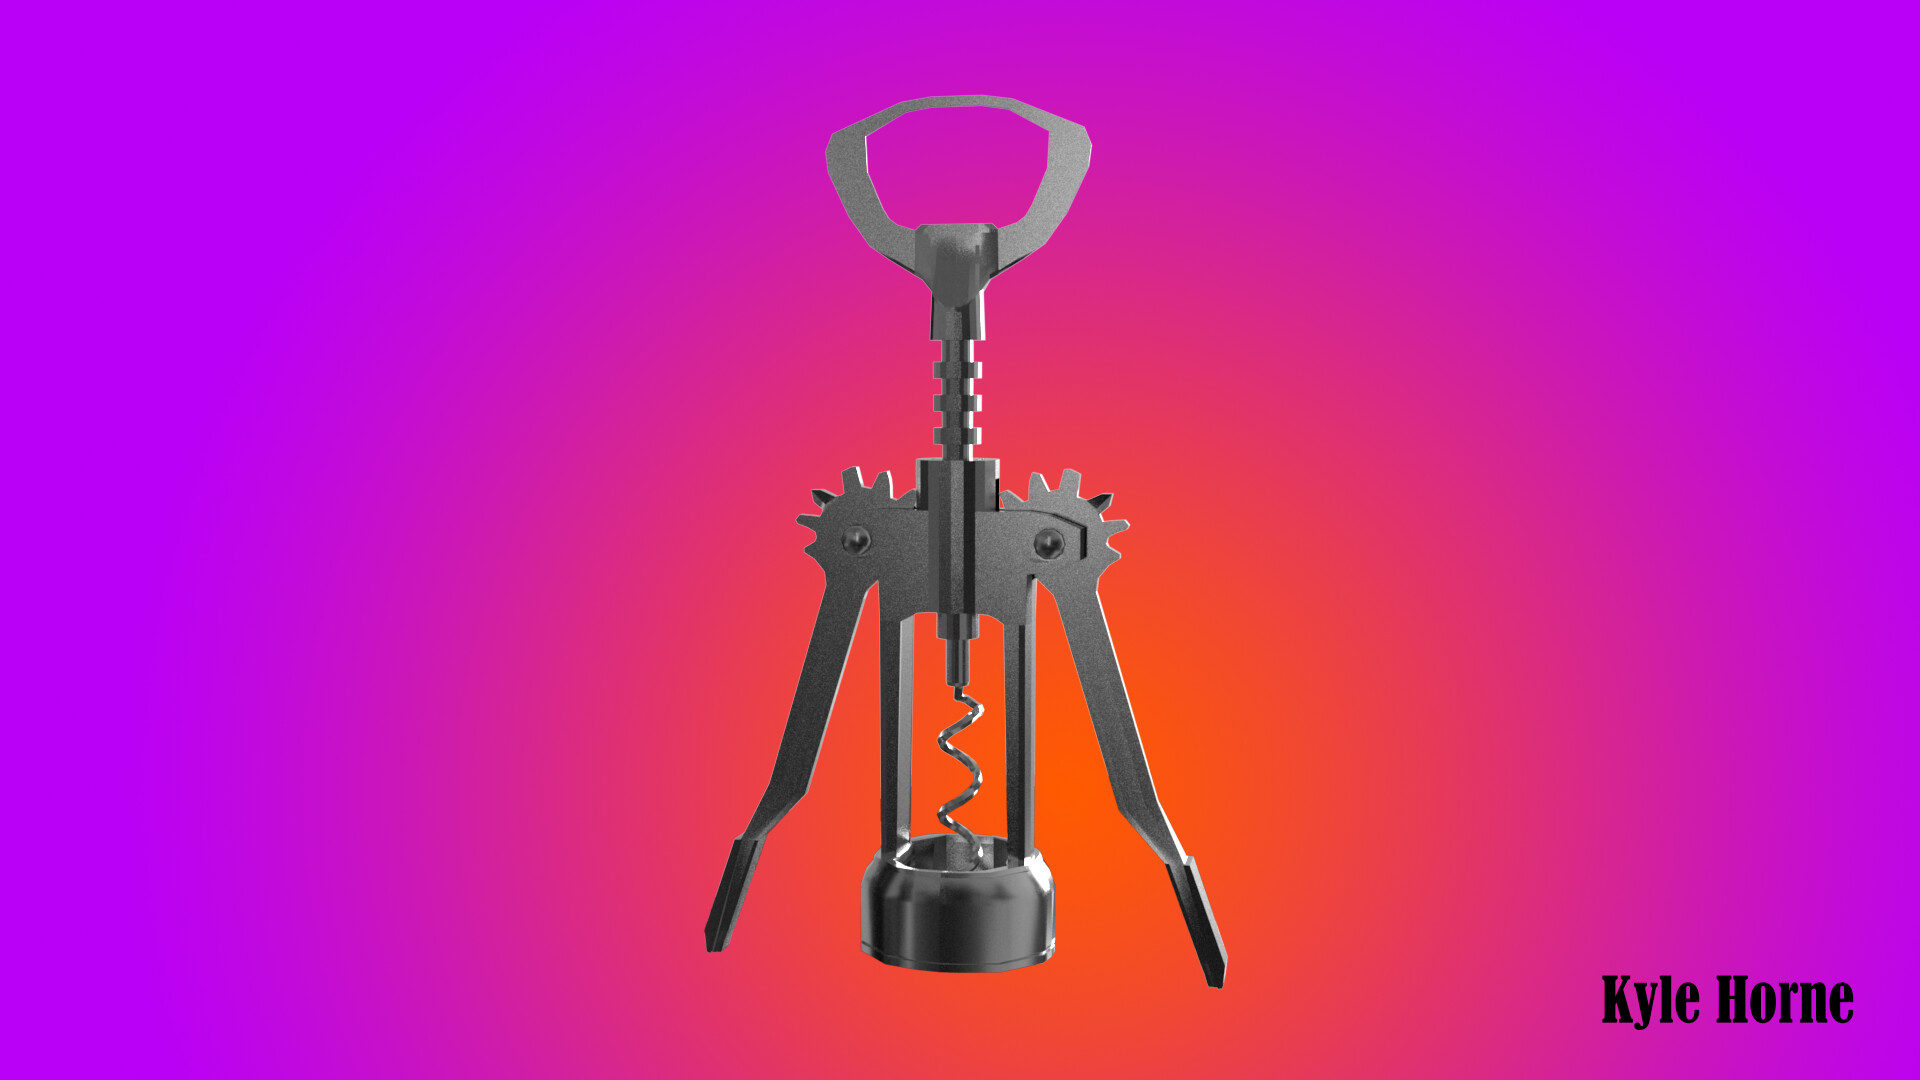
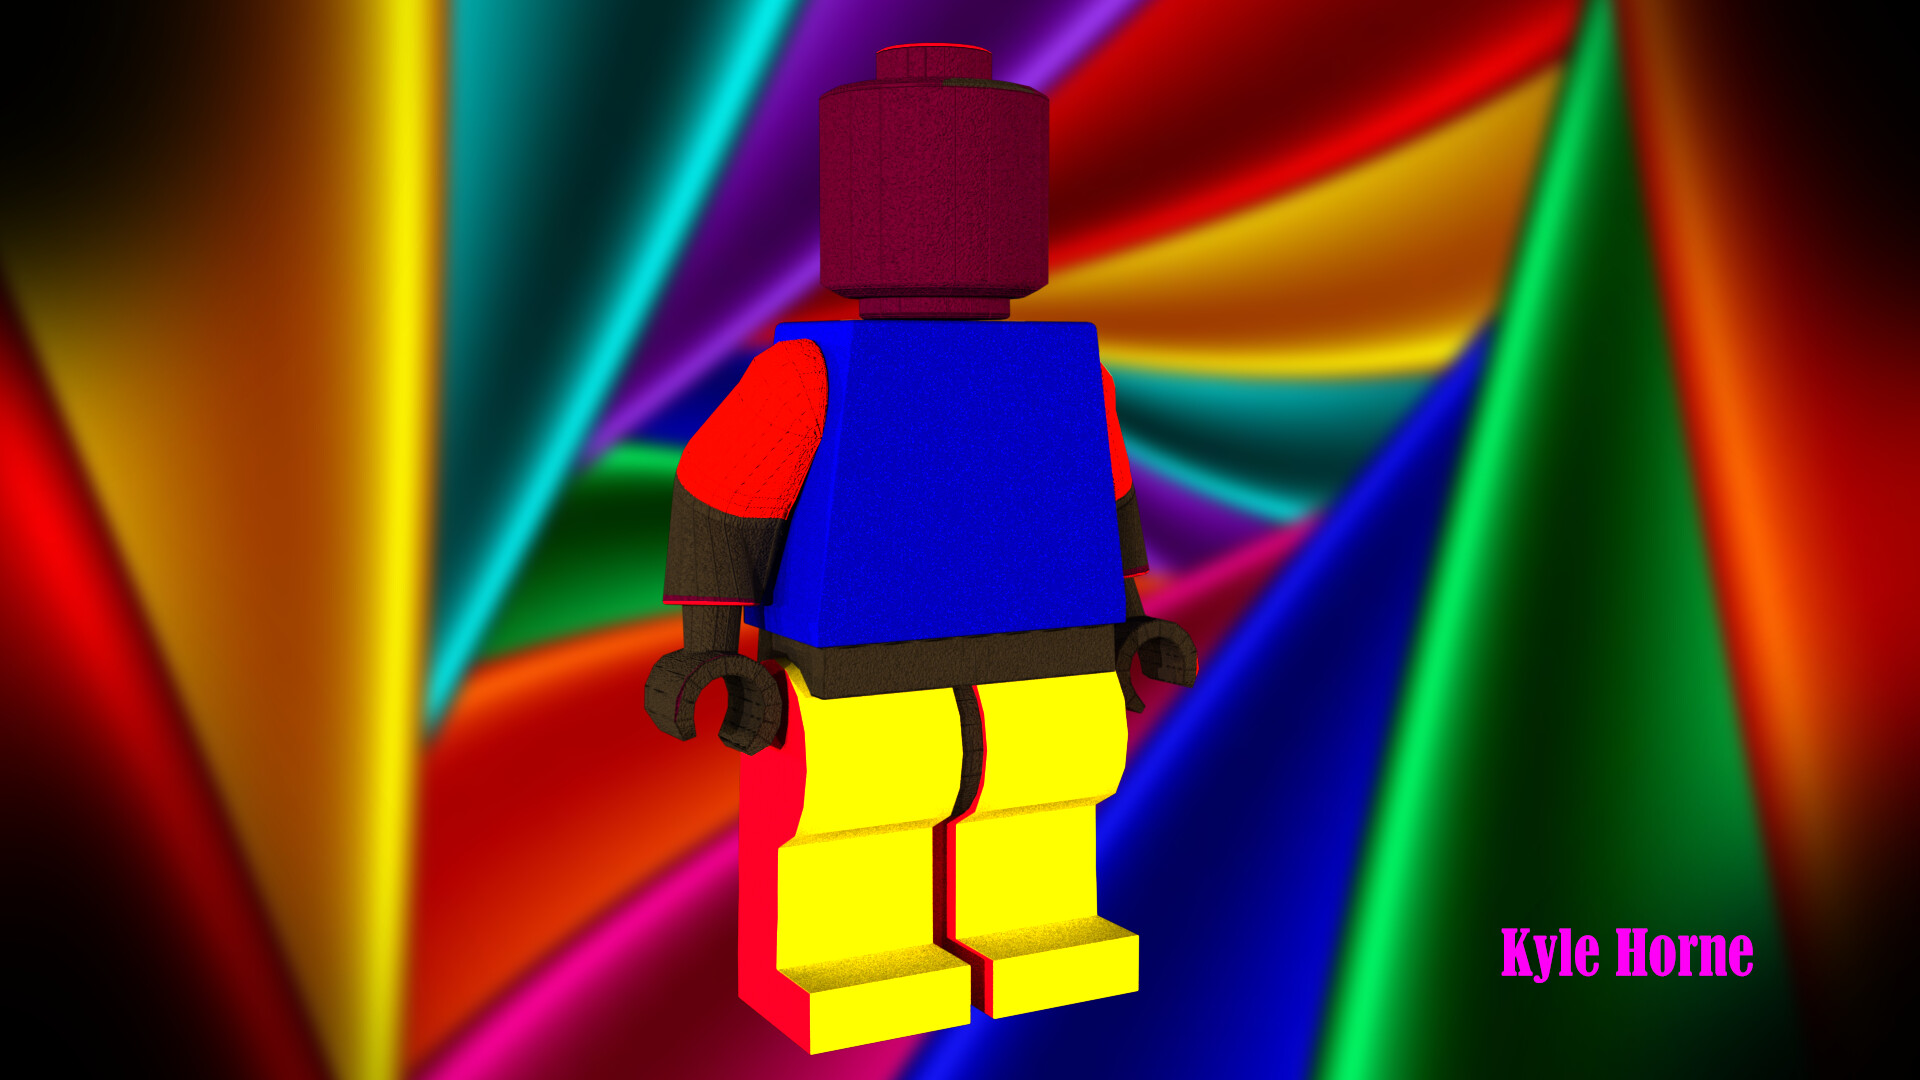
Well, the Bottle Opener turned out to be the most challenging item to bottle. It took me probably 15 hours to model. I realized that UV and Smart Duplicating in quarters was the fastest way to do things as long as the merge threshold wasn't too high. Purchasing the item made it a lot easier. I think also segmenting in pieces with the basic shapes is probably the best approach and snap verts before merging them together. There was a lot of back and forth and fixing problem geometry. Sketching is a good practice to do beforehand.
Maya Model - Kyle Horne - 2020
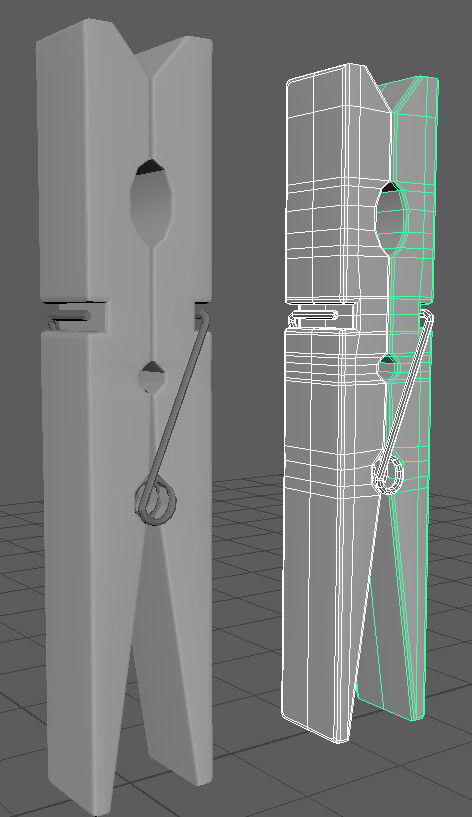
This was far less complicated than the Spark Plug. So the spring was modeled using a helix with extrusions. The rest with box modeling and bevels. I UV'ed two times. Once before, and once after bevels. I will continue this method for future projects. We set up a Bump Map in Renderman with a PXR shader. I'm going to use a wood grain map, and not sure what for the metal spring.
Well just doing this because I believe the spring can be done a similar way to the ridges in the sparkplug. (Helix) For now just the base model of one of the wood pieces. Needs beveling or holding edges for sub-D modeling. UV's and the spring part done, and All UV'ed by tomorrow, setup for Renderman with a Bump Map. A lot left to do. Handy to have the actual reference object.

The trick here was to start with cylinders and delete the sides. I first tried the Cirularize tool on the front to make it more round, however, the second rebuild yielded better results.


Well, I started this on Saturday and completed on Monday. I thought I had more time and turned in a day late. The UV's took twice as long as the modeling. A lot of verts were stacked on one another. The Ridges are made with a Helix. The rest of the model was made with cylinders. This was more challenging than initially thought.
I saved more than 30 Files for this one.
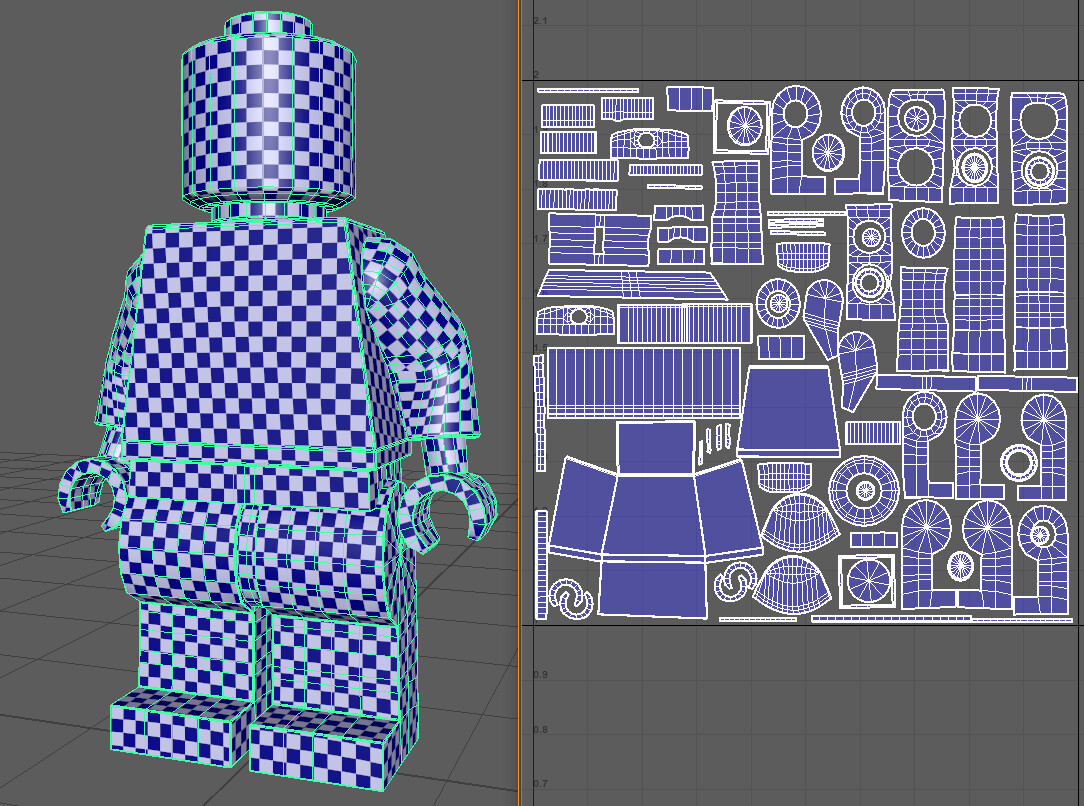
Well, I lost all the work on the UV's and had to restart. Maya Kept crashing when moving UV Shells. I made sure to set the project and Delete History on the parts 1 by one. Arrow Right key to select the next item in the Outliner.
UV Editor - Tools > Show
1. Camera-Based Projection
2. Select edges just outside of Bevel to cut
3. Unfold, Unfold along U and V for Straight Shells
4. Select the Most important Shell. Transform > Get > Set to copy textel density.